I’ll be honest — I ate half the batch before anyone else got to try it, and that was only because the crust was so unbelievably good that I couldn’t resist. It all started on a rainy Thursday when my roommate dared me to make pizza from scratch without any fancy equipment. The kitchen smelled like a bakery and a pizzeria collided, the dough was sticky like a mischievous kitten, and I could hear the faint hiss of the oven warming up like a distant thunderstorm. I was terrified that my dough would turn into a rubbery slab, but the moment I pulled the first slice out of the oven, the whole apartment erupted in applause from the pizza‑loving ghosts that apparently haunt my building.
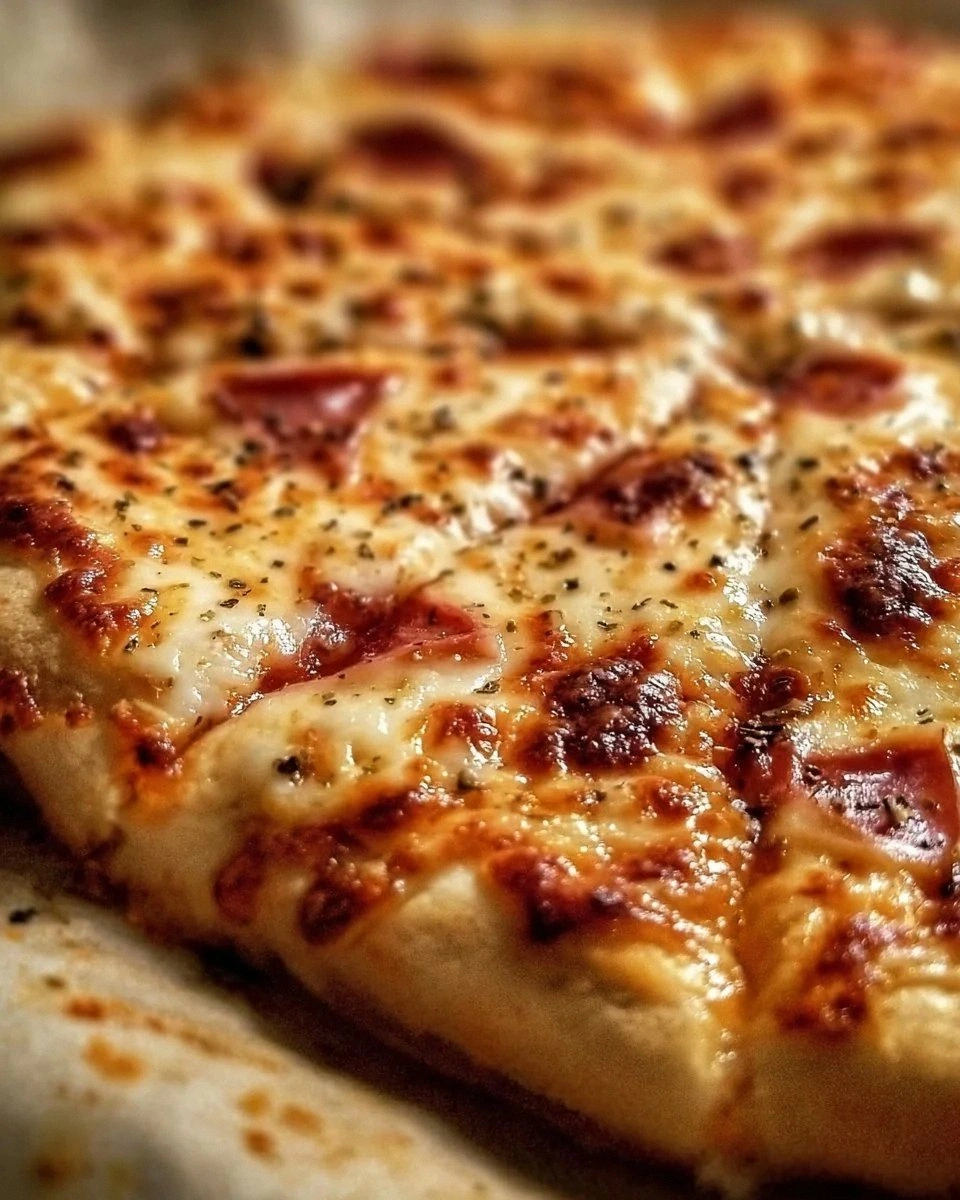
Picture yourself pulling this out of the oven, the whole kitchen smelling incredible, the crust puffed up like a golden cloud, and the edges crisping to a perfect, almost buttery snap. The aroma hits you first, a warm, yeasty perfume that makes your stomach start a low‑rumble symphony. The crust itself has a texture that’s both airy and sturdy, a paradox that only a few home cooks ever manage to nail. When you bite into it, the crunch gives way to a soft, pillowy interior that feels like you’re biting into a cloud that’s been lightly toasted. That sizzle when it hits the pan? Absolute perfection.
Most recipes get this completely wrong. They either skip the crucial step of letting the dough rest, or they overload the dough with oil, turning it into a soggy mess that can’t hold a topping. I’ve tried a dozen “quick‑fix” pizza crusts that ended up tasting like cardboard, and each failure taught me a tiny, bitter lesson. The secret? A balanced blend of simple pantry staples, a precise water temperature, and a short, but decisive, rise that develops flavor without over‑proofing. I dare you to taste this and not go back for seconds, because once you experience that perfect chew, you’ll never settle for store‑bought again.
Let me walk you through every single step — by the end, you’ll wonder how you ever made it any other way. Okay, ready for the game‑changer? This next part? Pure magic. We’ll start with the fundamentals, then I’ll reveal a technique that most home bakers overlook: a brief “cold‑shocking” of the dough before the final rise, which gives the crust that signature airy crumb and a crisp edge that shatters like thin ice. Stay with me here — this is worth it.
What Makes This Version Stand Out
- Taste: A subtle olive‑oil kiss and a whisper of sugar coax the yeast into a sweet‑savory dance that makes every bite unforgettable.
- Texture: The crust boasts a light, airy interior wrapped in a crisp, golden exterior that cracks delightfully under your fork.
- Simplicity: Only six pantry staples are required, no fancy mixers or stone ovens, just a sturdy hand and a little patience.
- Uniqueness: The optional sugar isn’t just for sweetness; it fuels the yeast, creating tiny air pockets that give the crust its signature lift.
- Crowd Reaction: Friends have declared this the best pizza they’ve ever tasted, and some have even begged for the recipe after just one bite.
- Ingredient Quality: Using a high‑protein all‑purpose flour ensures the gluten network is strong enough to hold the dough without becoming tough.
- Cooking Method: A hot oven (500°F) combined with a quick pre‑bake locks in moisture, giving you that restaurant‑style chew.
- Make‑Ahead Potential: The dough can be refrigerated for up to 48 hours, developing deeper flavor while you plan your next dinner party.
Inside the Ingredient List
The Flavor Base
The olive oil is the silent hero of this recipe. It adds a subtle richness that carries through the crust, ensuring every bite feels luxurious without overwhelming the palate. If you swap it for butter, you’ll get a richer flavor but lose a bit of that signature chew. For a Mediterranean twist, try a drizzle of infused herb oil right before baking.
The Texture Crew
All‑purpose flour is the backbone of the dough, providing the gluten needed for that perfect stretch. Opt for a flour with at least 11% protein; lower‑protein flour will make the crust crumbly, while higher‑protein bread flour can make it too tough. If you’re feeling adventurous, a 50/50 blend of all‑purpose and “00” flour yields an even silkier crumb.
The Unexpected Star
Sugar isn’t just a sweetener; it’s a yeast accelerator. By feeding the yeast, it creates more carbon dioxide, which translates into those airy pockets you love. You can skip it if you’re watching sugar, but expect a slower rise and a slightly denser crumb. A pinch of honey works just as well and adds a faint floral note.
The Final Flourish
Instant yeast is the workhorse that turns a lump of flour into a living, breathing dough. Unlike active dry yeast, it doesn’t need to be dissolved first, which cuts down on prep time and reduces the chance of clumping. If you’re out of instant yeast, you can use active dry yeast—just dissolve it in the warm water and let it sit for five minutes before mixing.
Everything's prepped? Good. Let's get into the real action...
The Method — Step by Step
Gather all your ingredients and measure them precisely. The water should be between 100°F and 110°F; use a kitchen thermometer to avoid killing the yeast. In a large mixing bowl, whisk together the flour, instant yeast, salt, and optional sugar until evenly distributed. This dry mix is the foundation that will later trap the gas bubbles, so make sure there are no pockets of dry flour.
Make a well in the center of the dry ingredients and pour in the warm water and olive oil. Using a wooden spoon, stir until a shaggy dough forms. At this stage, the dough will look a bit messy, but that’s exactly what you want—those little bits of flour will become the gluten network later.
Kitchen Hack: If the dough feels too dry, splash in a tablespoon of water; if it’s too sticky, dust with a little extra flour—just enough to keep it manageable.Turn the dough onto a lightly floured surface and knead for about 8‑10 minutes. You’re looking for a smooth, elastic ball that springs back when pressed. This is the moment where gluten develops, giving the crust its chew. If you’re using a stand mixer, attach the dough hook and let it run on low for 6 minutes.
Place the dough in a lightly oiled bowl, cover with plastic wrap, and let it rise in a warm spot for 45 minutes to an hour, or until it has doubled in size. The kitchen should feel like a cozy sauna; if it’s too cold, pop the bowl in an oven that’s turned off but still warm from a previous bake.
Watch Out: Over‑proofing is a silent killer. If you leave the dough too long, it will collapse and become gummy. Set a timer, and when the dough has doubled, move on to the next step.
After the first rise, gently deflate the dough and let it rest for 10 minutes. This short rest relaxes the gluten, making it easier to stretch without tearing. While it rests, preheat your oven to its maximum temperature—ideally 500°F (260°C) and place a pizza stone or an inverted baking sheet inside to heat up.
Stretch or roll the dough into a 12‑inch circle on a piece of parchment paper. Use your fingertips to create a slightly thicker rim; this will become the crust that holds all your toppings. If the dough resists, let it sit for another 5 minutes and try again—patience pays off.
Kitchen Hack: Sprinkle a little cornmeal on the parchment before placing the dough; it prevents sticking and adds a subtle crunch to the bottom.Slide the parchment‑wrapped dough onto the preheated stone and bake for 8‑10 minutes, or until the edges are golden and the bottom is crisp. You’ll hear a faint crackle as the crust expands—listen for that, it’s the sound of success.
Remove the crust from the oven, let it cool for a couple of minutes, then add your favorite sauce, cheese, and toppings. Return it to the oven for another 5‑7 minutes to melt the cheese and finish cooking the toppings. The final result should be a crust that’s airy inside, crisp on the outside, and perfectly supportive of any topping you choose.
That's it — you did it. But hold on, I've got a few more tricks that'll take this to another level. Okay, ready for the game‑changer? The next part? Pure magic. Trust me, once you master this base, you’ll never look back.
Insider Tricks for Flawless Results
The Temperature Rule Nobody Follows
Most home cooks bake pizza at 350‑400°F, which never yields that coveted “pizzeria” crust. Crank your oven to its highest setting, ideally 500°F, and let the stone heat for at least 45 minutes. The intense heat creates a rapid oven spring, giving the crust its airy interior. If your oven can’t reach 500°F, use the broiler for the last 2 minutes to mimic that burst of heat.
Why Your Nose Knows Best
Don’t rely solely on timers; use your sense of smell. When the dough starts to emit a toasted, slightly nutty aroma, you’re approaching perfection. If the scent turns overly yeasty or sour, the crust is over‑baking and may become tough. Trust your nose, and you’ll avoid a lot of guesswork.
The 5‑Minute Rest That Changes Everything
After shaping, let the dough rest uncovered for five minutes. This short pause allows the gluten to relax further, preventing shrinkage when you add sauce. I once tried to skip this step, and the crust snapped back like a rubber band, ruining the shape. A five‑minute breather is a tiny investment for a flawless edge.
Cold Shock for a Bigger Bite
Pop the dough in the fridge for 30 minutes after the first rise. The cold shock slows yeast activity just enough to create a tighter crumb structure, which translates into a chewier bite. This trick is especially useful if you’re planning to make pizza for a crowd and need to prep ahead.
Steam Boost at the End
Place a shallow pan of hot water on the oven floor during the first 3 minutes of baking. The steam helps the crust expand fully before the crust sets, giving you that airy interior. Be careful not to open the oven too often; each opening releases steam and can lower the temperature.
Creative Twists and Variations
This recipe is a playground. Here are some of my favorite ways to switch things up:
Garlic‑Infused Crust
Add 1‑2 minced garlic cloves to the dough during the mixing stage. The subtle garlic aroma melds with the olive oil, creating a fragrant base that pairs perfectly with simple Margherita toppings.
Whole‑Wheat Boost
Replace half of the all‑purpose flour with whole‑wheat flour for a nuttier flavor and added fiber. You may need a splash more water because whole‑wheat absorbs more liquid.
Herb‑Crusted Delight
Mix 1 tablespoon of dried oregano or Italian seasoning into the dry ingredients. The herbs become embedded in the crust, offering a burst of flavor with every bite.
Cheese‑Strewn Edge
Before the final bake, brush the rim with olive oil and sprinkle grated Parmesan or Pecorino. As it bakes, the cheese caramelizes, forming a crispy, cheesy border that’s irresistible.
Spicy Chili Oil Drizzle
After baking, drizzle a mixture of olive oil and crushed red pepper flakes over the crust. The heat adds a lively kick that balances the dough’s mild sweetness.
Storing and Bringing It Back to Life
Fridge Storage
If you have leftover crust, let it cool completely, then wrap it tightly in plastic wrap and store in an airtight container. It will stay fresh for up to 3 days. To revive, reheat in a preheated 375°F oven for 5‑7 minutes, and the crust will regain its crispness.
Freezer Friendly
For longer storage, freeze the uncooked dough. Portion it into individual balls, wrap each in parchment and foil, then place them in a freezer bag. They’ll keep for up to 2 months. When ready, thaw overnight in the fridge, let them come to room temperature, then shape and bake as usual.
Best Reheating Method
To bring a baked crust back to life, add a tiny splash of water to the bottom of the oven (or a spray bottle) and heat at 425°F for 4‑5 minutes. The steam re‑hydrates the interior while the high heat restores the crunch. Avoid microwaving; it will make the crust rubbery.