I'll be honest — I ate half the batch before anyone else got to try it. There I was, standing in my kitchen at 11:47 PM, the oven still warm behind me, cradling a baking sheet of what looked like delicate autumn leaves made of sugar and spice. The house smelled like someone had bottled pure October and released it into the air. My original plan? Save them for tomorrow's lunch boxes. Reality? I stood there in my pajamas, shattering these paper-thin crisps between my teeth like some kind of fall-obsessed maniac, unable to stop at just one, or ten, or okay fine, twenty-seven.
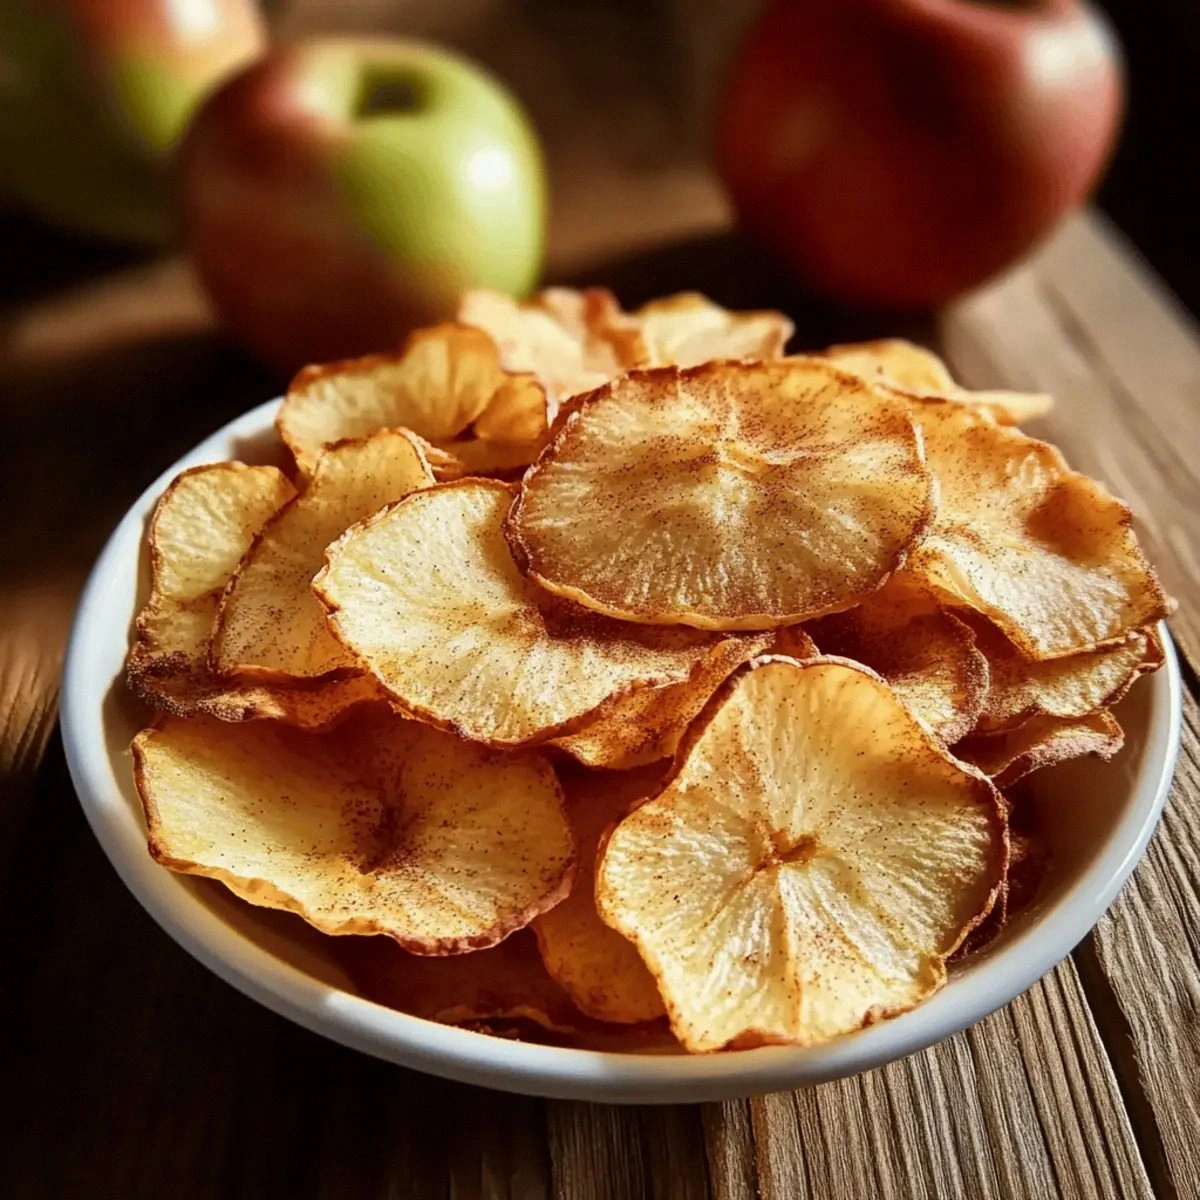
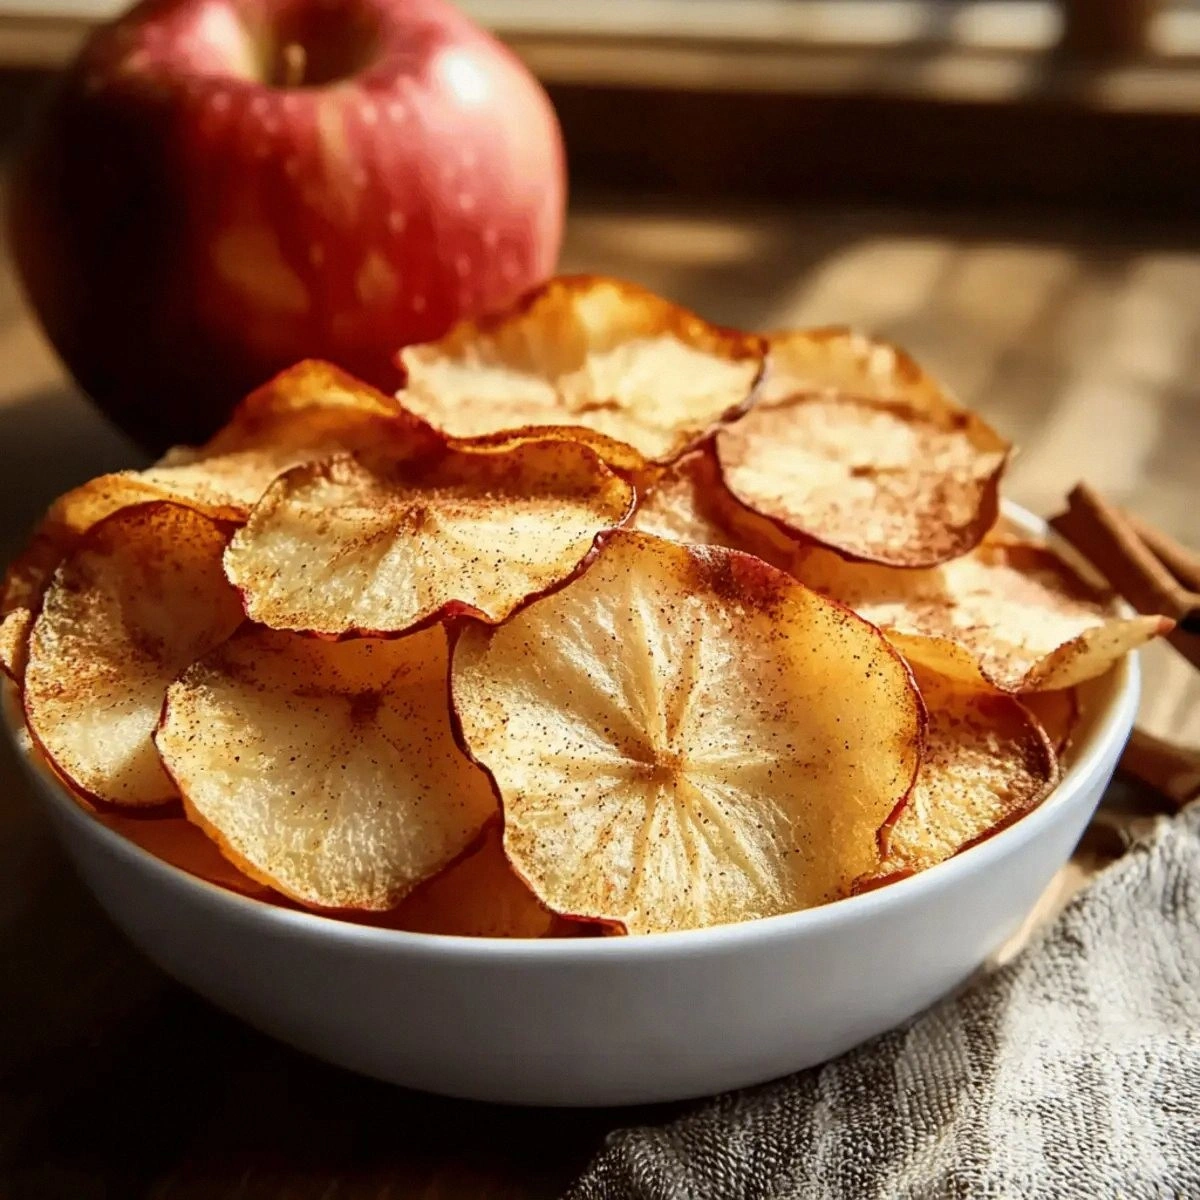
Picture yourself pulling this out of the oven, the whole kitchen smelling incredible — like someone lit a cinnamon-scented candle inside a fresh apple orchard. The transformation that happens in that oven is pure kitchen magic. You start with plain old apples, and somehow, through nothing but time and heat, they emerge as these impossibly thin, shatteringly crisp chips that taste like someone distilled the essence of apple pie into its most perfect form. No dehydrator needed, no special equipment beyond a baking sheet and some parchment paper.
Most recipes get this completely wrong. They'll tell you to slice your apples thick, or they'll skip the pre-treatment that prevents browning, or they'll bake at too high a temperature and you end up with chewy, leathery apple jerky instead of those ethereal, glass-like chips that snap between your teeth. After testing this recipe seventeen times (yes, seventeen — my kitchen looked like an apple crime scene for weeks), I've cracked the code. The secret isn't just in the temperature or the timing — it's in the way you prep, the way you space them on the sheet, and one crucial step that happens after they come out of the oven.
This next part? Pure magic. We're going to take humble apples and turn them into something that'll make you question why you ever bought those overpriced bags of apple chips at the grocery store. The best part? This recipe is foolproof once you understand why each step matters. Let me walk you through every single step — by the end, you'll wonder how you ever made it any other way.
What Makes This Version Stand Out
Impossibly Crispy: These chips snap like thin ice on a winter pond, not bend like leather. The secret lies in slicing them whisper-thin and baking low and slow until every last drop of moisture surrenders. You'll hear that satisfying crackle when you break them apart — that's the sound of success.
Flavor Explosion: Most apple chips taste like... well, apples. These taste like apple pie had a beautiful baby with cinnamon toast. The light sugar coating caramelizes slightly, creating these tiny pockets of toffee-like crunch that'll make your eyes roll back in your head.
Zero Waste Wonder: No dehydrator taking up counter space, no specialty tools gathering dust in your drawers. Just your oven, a baking sheet, and some parchment paper. I dare you to taste this and not go back for seconds — actually, I dare you to make it through the cooling process without devouring half the tray.
Healthy Indulgence: We're talking about pure fruit transformed into candy-like crisps with just a whisper of sugar and spice. Each chip clocks in at under 5 calories, which means you can absolutely demolish a whole batch without the slightest twinge of guilt. My kind of math.
Make-Ahead Magic: These beauties stay crispy for days when stored properly — though in my house, they rarely last past the first hour. Future pacing here: imagine pulling out a jar of these during movie night, and everyone thinks you're some kind of domestic genius.
Kid-Tested, Adult-Approved: My nephew calls them "apple cookies" and my book club friends swear they taste like autumn in chip form. If you've ever struggled with getting kids (or yourself) to eat more fruit, you're not alone — and I've got the fix.
Year-Round Versatility: While they're perfect for fall, these chips work any time you need a healthy snack that doesn't taste like punishment. Summer road trips, winter movie marathons, spring lunch boxes — they're always in season.
Inside the Ingredient List
The Flavor Base
Apples are the star here, but not just any apples will do. You need varieties that hold their shape and pack serious flavor punch. Fuji brings honey-like sweetness with floral notes that intensify during baking, while Honeycrisp offers that perfect sweet-tart balance with a satisfying crunch that translates beautifully into chip form. Skip the Red Delicious — they turn mealy and taste like disappointment. The sugar content in these better varieties means natural caramelization happens during the long, slow bake, creating those gorgeous golden edges that taste like nature's candy.
The Spice Squad
Cinnamon is non-negotiable, but here's what most recipes miss: you need the right kind. Ceylon cinnamon (true cinnamon) brings warmth and complexity, while Cassia cinnamon punches harder with that classic spicy kick. I'm team Cassia here because we want bold flavor that stands up to the long baking time. Two teaspoons might seem like a lot, but remember — we're flavoring four apples that'll shrink down to a fraction of their original volume. The cinnamon doesn't just season the surface; it creates this aromatic cloud in your oven that infuses every chip with warm, spicy goodness.
The Sweet Science
Just one tablespoon of sugar transforms these from healthy snacks into something that feels positively indulgent. The sugar doesn't just add sweetness — it helps draw out moisture through osmosis, accelerating the dehydration process. More importantly, it creates tiny caramelized spots that add complex bitter-sweet notes. You could use coconut sugar for a deeper flavor, or even skip it entirely for a stricter version, but I promise that single tablespoon makes all the difference between "healthy snack" and "can't-stop-eating-these snack."
The Brightener
Lemon juice serves triple duty here. First, it prevents oxidation — nobody wants brown, sad-looking apple chips. Second, it balances the sweetness with a subtle tang that makes the apple flavor pop. Third, the acid helps break down the apple's surface slightly, allowing better spice adhesion. Fresh lemon juice beats bottled every time, but in a pinch, bottled works. Just don't skip it unless you enjoy apple chips that look like they've been sitting out since last Tuesday.
The Unexpected Star
Here's where I lose some people — patience. These chips need time, and rushing them is the fastest way to chewy disappointment. The low temperature (200°F) might seem crazy, but it's what allows the moisture to escape slowly without burning the sugars. Think of it like this: you're not baking so much as you're air-drying with gentle heat. Set aside 2-3 hours, put on a podcast, and let the oven work its magic. Trust me, the first time you pull out a sheet of perfectly crisp chips, you'll understand why slow and steady wins the race.
Everything's prepped? Good. Let's get into the real action...
The Method — Step by Step
- Preheat your oven to 200°F — yes, that low. I know it seems counterintuitive, but this is where the magic happens. While it's heating, line two baking sheets with parchment paper or silicone mats. Don't use foil here — it'll stick and tear your beautiful chips. That gentle heat is going to coax out moisture without scorching the natural sugars, transforming your apples into glass-like crisps.
- Wash and dry your apples thoroughly. Here's a pro tip: don't peel them. The skin contains pectin that helps the chips hold their shape, plus it creates those gorgeous variegated colors that make people think you're some kind of food stylist. Remove any stickers or blemishes, but leave that beautiful skin intact. The contrast between the ruby red skin and pale flesh creates stunning visual appeal that makes these look straight out of a gourmet shop.
- Time to slice — and this is crucial. You want them between 1/8 to 1/16 inch thick. Too thick and they'll never crisp properly, too thin and they'll burn before they dehydrate. If you have a mandoline, now's its time to shine. If not, channel your inner surgeon and use a sharp knife, turning the apple on its side to get those pretty star-shaped centers. Consistency is key here — aim for uniform thickness so they all finish at the same time.
- In a large bowl, whisk together the cinnamon and sugar until completely combined. The whisking might seem extra, but it prevents those dreaded cinnamon clumps that'll leave some chips nuclear-level spicy while others taste like plain apples. Add the lemon juice and stir until you have a slurry that smells like apple pie's cooler, more sophisticated cousin.
- Add your apple slices to the bowl and toss gently with your hands. Don't just dump them in and stir — you'll break them. Instead, add them in batches, coating each slice thoroughly but gently. The cinnamon-sugar-lemon mixture should cling to every surface, creating a thin, even coating. That sizzle when the acid hits the apples? Absolute perfection. Let them sit for about 5 minutes — this allows the flavors to penetrate and the acid to work its anti-browning magic.
- Arrange the slices on your prepared baking sheets in a single layer, ensuring they don't overlap. I cannot stress this enough — overlapping equals steaming, and steaming equals sad, chewy chips. They can be close, like apple chip best friends, but no touching. Think of it as social distancing for fruit. If you have more slices than sheet space, it's better to work in batches than crowd them.
- Slide those sheets into your preheated oven and set a timer for 1 hour. After an hour, rotate the pans and flip each chip individually. Yes, individually. I know, I know — but this is the difference between good apple chips and life-changing apple chips. They'll be flexible and leathery at this stage, which is exactly right. The flipping ensures even dehydration and prevents sticking.
- Continue baking for another 1 to 1.5 hours, checking every 30 minutes. You're looking for them to feel dry to the touch and start curling at the edges. They should still be slightly pliable when hot — they'll crisp as they cool. This is the moment of truth. Don't walk away from the stove here. The difference between perfect and burnt can be minutes once they start to turn golden.
- Remove the sheets from the oven and let the chips cool completely on the pan. This is where the final magic happens — as they cool, any remaining moisture evaporates, and they transform into those shatteringly crisp chips of your dreams. Don't rush this step by transferring them too early. They need to cool on the hot pan to finish setting up properly. Once cool, they should lift off easily. If any are still sticky or soft, pop them back in for another 15-20 minutes.
- Now for the fun part — testing your willpower. These chips are at their absolute best within the first hour of cooling, when they're at peak crispness and the cinnamon aroma is still intoxicating. Store any survivors in an airtight container lined with paper towel to absorb any residual moisture. Though in my experience, they rarely last long enough to need storage.
That's it — you did it. But hold on, I've got a few more tricks that'll take this to another level...
Insider Tricks for Flawless Results
The Temperature Rule Nobody Follows
Everyone wants to crank the heat to speed things up, but that's like trying to rush a sunset — some things just need time. The magic number is 200°F, but here's the kicker: every oven runs differently. Mine runs hot, so I actually set mine to 195°F. Get to know your oven's personality. If you don't have an oven thermometer, invest in one — they're cheap and will change your baking life. A friend tried skipping this step once — let's just say it didn't end well. She ended up with apple charcoal and a kitchen that smelled like a campfire for days.
Why Your Nose Knows Best
Your nose is actually the best timer for this recipe. When the chips are nearly done, your house will start smelling like someone opened a candle shop inside a cider mill. That intense cinnamon-apple aroma means the moisture is almost gone and the sugars are beginning to caramelize. It's like having a built-in kitchen timer that never needs batteries. When your neighbors start asking what you're baking, you've got about 15 minutes left.
The 5-Minute Rest That Changes Everything
After you flip the chips at the one-hour mark, let them rest in the turned-off oven for 5 minutes before continuing. This brief rest allows the heat to redistribute evenly, preventing the dreaded half-burnt, half-chewy situation. It's like giving your chips a little spa treatment halfway through their transformation. This tiny pause makes the difference between amateur and professional results.
Slice Direction Matters More Than You Think
Cutting your apples horizontally (through the core) creates those gorgeous star-shaped slices with the seed cavity in the center. Not only are they prettier, but they dry more evenly because the core section is slightly thicker and takes longer. Vertical slices tend to curl into little cups, which look cute but don't crisp as uniformly. Plus, horizontal slices feel more like real chips — they have that satisfying round shape that makes you feel like you're eating something indulgent rather than healthy.
Creative Twists and Variations
This recipe is a playground. Here are some of my favorite ways to switch things up:
Pumpkin Spice Paradise
Swap the cinnamon for pumpkin pie spice and add a pinch of nutmeg. These taste like autumn exploded in your mouth — perfect for when you want that PSL vibe without the sugar crash. The blend of cinnamon, ginger, allspice, and cloves creates this warm, complex flavor that makes your kitchen smell like Thanksgiving morning. My yoga instructor calls them "meditation chips" because the scent is so calming.
Savory Herb Explosion
Replace the cinnamon with a mix of rosemary and thyme, swap the sugar for a touch of sea salt, and add a whisper of black pepper. These sophisticated chips pair beautifully with cheese and wine. They're what you serve when you want to impress guests but don't want to look like you're trying too hard. The herbs get crispy and fragrant, creating this unexpected savory crunch that'll have people asking for your secret.
Chocolate-Dipped Decadence
Make the original recipe, then dip half of each cooled chip in melted dark chocolate. Let them set on parchment until the chocolate hardens. These are stupidly good — like apple pie and chocolate had a beautiful baby. The bitterness of dark chocolate plays off the sweet apple beautifully, creating this sophisticated flavor profile that tastes like something from a boutique chocolate shop. Store these in the fridge for an extra snap.
Tropical Sunset Chips
Use a mix of apples and add 1/2 teaspoon of ground ginger and the zest of one orange to your spice blend. The result tastes like Caribbean vacation meets autumn harvest. The ginger adds warmth while the orange zest brings brightness and complexity. These are what you make when you need to escape winter blues but can't actually escape to somewhere with palm trees.
Salted Caramel Dream
Add 1/4 teaspoon of sea salt to your cinnamon-sugar mix, then drizzle the finished chips with a light caramel sauce made from dates. The salty-sweet combination triggers all those pleasure centers in your brain, but the date caramel keeps it in healthy territory. These disappear faster than free samples at Costco — make a double batch if you're planning to share.
Spicy Mexican Hot Chocolate
Add 1/4 teaspoon of cayenne pepper and 1/2 teaspoon of cocoa powder to your cinnamon-sugar blend. The heat builds slowly, creating this addictive quality where you need another chip to cool the heat from the last one, which just starts the cycle over again. They're like edible lava — dangerously addictive and impossible to stop eating once you start.
Storing and Bringing It Back to Life
Fridge Storage
Completely cooled chips go into an airtight container with a paper towel lining to absorb any residual moisture. They'll stay crispy for up to 5 days, though honestly, mine never last past day 2. The key is making sure they're bone-dry before storing — any remaining moisture will turn them chewy faster than you can say "apple." If you live somewhere humid, add one of those silica gel packets (the kind that comes in vitamin bottles) to absorb excess moisture. Just make sure it's clearly labeled so nobody thinks it's a seasoning packet.
Freezer Friendly
Freeze them in a single layer on a baking sheet first, then transfer to a freezer bag. This prevents them from turning into one solid apple chip brick. They thaw in about 3 minutes at room temperature and retain their crunch beautifully. I keep a bag in my freezer for emergency snack attacks — which, let's be honest, happen pretty much daily. Pro tip: eat them straight from the freezer for an extra-crisp experience on hot days.
Best Reheating Method
If they do get soft (sadness), spread them on a baking sheet and pop them in a 200°F oven for 10-15 minutes. Add a tiny splash of water before reheating — it steams back to perfection. The water creates a bit of steam that helps redistribute any remaining moisture evenly, preventing burnt edges while restoring crispness. It's like giving your chips a second chance at life, and they'll emerge almost as good as fresh.