Picture this: it’s a rainy Saturday, the kind that makes you want to curl up with something sweet, but the pantry only has a sad, store‑bought cookie that crumbles like dry sand. I was in the middle of a culinary crisis when my roommate dared me, “I bet you can’t make a macaron that doesn’t taste like cardboard.” I laughed, rolled up my sleeves, and dove headfirst into the chaotic world of French patisserie, armed with almond flour, cocoa, and a stubborn determination to prove that a perfect chocolate macaron is not a myth. The kitchen filled with the intoxicating aroma of melted chocolate and toasted almond, the batter shimmering like a midnight lake, and the oven door opening to reveal a tray of glossy, ruby‑red crowns that could have fooled any Parisian baker. That first bite? A melt‑in‑your‑mouth moment that shouted, “This is hands down the best version you’ll ever make at home.”
Why does this recipe stand out in a sea of “macaron” blogs? First, the texture is a paradox: the shells crack with a delicate, airy snap, then dissolve into a silky, chocolate‑rich interior that feels like velvet on your tongue. Second, the flavor balance is meticulously calibrated—deep cocoa meets a whisper of vanilla, while the dark chocolate chip filling adds a burst of glossy decadence that makes you want to lick the plate clean. Most recipes get this completely wrong, either ending up with rubbery shells or a bland filling, but I’ve cracked the code with a few simple tricks that even a beginner can master. And the best part? No fancy equipment, no tempering chocolate on a marble slab—just a trusty mixing bowl, a piping bag, and a dash of confidence.
Now, I’m going to let you in on a secret ingredient that most chefs keep under lock and key: a pinch of sea salt folded into the batter right before piping. It’s the tiny shock that awakens the chocolate, turning a simple sweet treat into a symphony of flavors that dance across your palate. I dare you to taste this and not go back for seconds. And if you’ve ever struggled with cracked tops or wonky shells, you’re not alone—I've been there, and I’ve got the fix that will turn your kitchen into a macaron‑making powerhouse.
Let me walk you through every single step — by the end, you’ll wonder how you ever made it any other way. Okay, ready for the game‑changer? This next part? Pure magic. Stay with me here — this is worth it.
What Makes This Version Stand Out
- Flavor Depth: The combination of cocoa powder, dark chocolate chips, and a splash of vanilla creates a layered chocolate experience that rivals any boutique patisserie.
- Texture Harmony: A crisp, airy shell paired with a creamy, melt‑in‑your‑mouth ganache interior gives you that coveted “snap‑and‑soft” contrast.
- Simplicity: No tempering, no fancy silicone mats—just a regular parchment‑lined tray and a kitchen scale for precision.
- Ingredient Quality: Using high‑quality almond flour and halal‑certified dark chocolate ensures a clean, pure taste without any off‑notes.
- Crowd Reaction: These macarons disappear faster than you can say “more, please,” making them perfect for parties, gift‑giving, or a solo indulgence.
- Make‑Ahead Potential: Once baked, they store beautifully, and the flavors actually deepen after a night in the fridge.
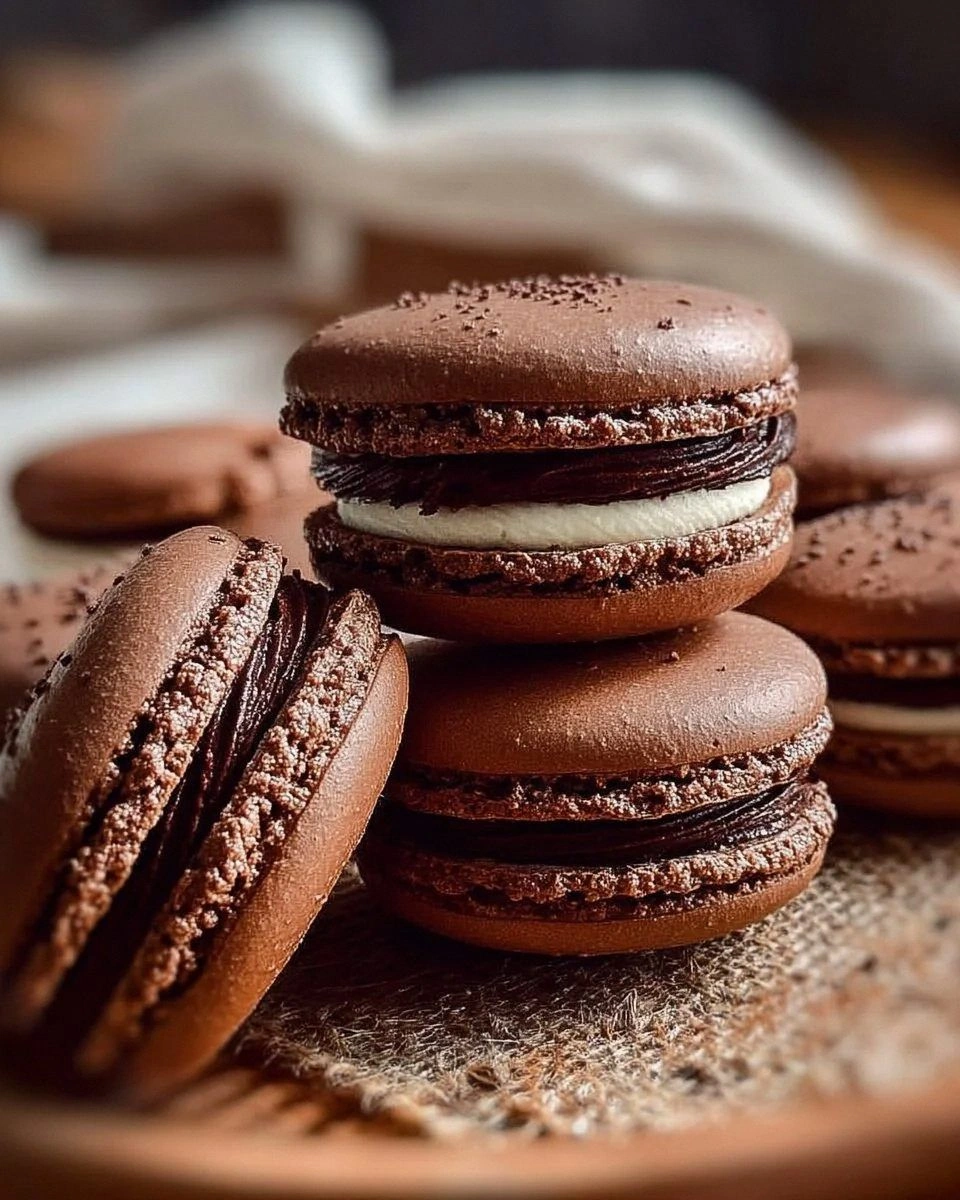
- Visual Appeal: The deep, glossy chocolate hue looks as luxurious as it tastes, turning any dessert spread into a show‑stopper.
- Adaptability: The base batter is a blank canvas—swap cocoa for matcha or add a splash of espresso for a mocha twist.
Inside the Ingredient List
The Flavor Base
Almond Flour (1 cup): This is the heart of any macaron. It provides the subtle nutty undertone and the structure that holds the shell together. If you skip it or use regular flour, you’ll end up with a dense, cake‑like texture that no one wants. For the best results, buy a finely ground, blanched almond flour and give it a quick pulse in a food processor to ensure uniformity.
Powdered Sugar (1 ¾ cups): Also known as icing sugar, it sweetens and stabilizes the batter. Too much can make the shells too sweet, while too little leads to cracks. If you’re looking for a gluten‑free guarantee, double‑check the label—some brands add cornstarch, which is fine, but avoid any that contain wheat starch.
The Texture Crew
Egg Whites (½ cup, about 3 large aged eggs): Aged egg whites whip up more stable meringue because the water evaporates, concentrating the proteins. This gives you that glossy sheen and the coveted “feet” on the macaron base. If you don’t have time to age them, you can add a pinch of cream of tartar to mimic the effect.
Granulated Sugar (¼ cup): This sugar is folded into the meringue to create a stable, glossy mixture. It dissolves during the whipping process, ensuring the batter isn’t gritty. If you prefer a lower‑glycemic option, try substituting with coconut sugar—just know it will add a faint caramel note.
The Unexpected Star
Cocoa Powder (3 tablespoons): The unsweetened cocoa delivers that deep chocolate flavor without adding extra sugar. It also darkens the shells, giving them an elegant, almost midnight‑blue hue. Choose a Dutch‑process cocoa for a smoother, richer taste, or go natural if you love a slightly acidic bite.
Dark Chocolate Chips (1 cup, halal): These melt into a luscious ganache that fills the shells. The bitterness of the dark chocolate balances the sweetness of the meringue, creating a sophisticated flavor profile. If you can’t find halal‑certified chips, any high‑quality dark chocolate with at least 70% cacao will do.
The Final Flourish
Vanilla Extract (1 teaspoon, halal): A splash of vanilla lifts the cocoa, rounding out the flavor and adding a comforting aroma that makes the whole kitchen feel like a boutique bakery. Use a pure extract, not imitation, for the cleanest taste.
Salt (1 pinch): This tiny amount amplifies the chocolate, cuts the sweetness, and brings everything into harmony. It’s the secret that turns a good macaron into a great one. Don’t overdo it; a pinch is all you need.
Everything's prepped? Good. Let's get into the real action…
The Method — Step by Step
First, sift together the almond flour and powdered sugar into a large bowl. The sift should feel like soft snow, light and airy. I like to tap the sieve a few times to ensure every fine particle lands in the bowl—this prevents any grainy texture later on. Once combined, set aside and give the mixture a quick whisk to break up any clumps.
Next, separate the egg whites from the yolks, being meticulous about not getting any yolk residue. Place the whites in a clean, dry mixing bowl—any grease will sabotage the meringue. Begin whisking on medium speed, then gradually add the granulated sugar while the whites start to foam. Keep whisking until you reach stiff peaks; the meringue should stand up like a proud, glossy mountain.
Kitchen Hack: Add a pinch of cream of tartar before whipping; it stabilizes the meringue and gives you a stronger “foot” on the finished macaron.Gently fold the dry almond‑sugar mixture into the meringue. Use a spatula and a gentle “ribbon” motion—over‑mixing will deflate the air, under‑mixing leaves a gritty batter. The batter should flow like lava, thick enough to hold its shape when piped but still glossy. When you lift the spatula, the batter should form a smooth ribbon that slowly falls back into the bowl.
Now, stir in the cocoa powder, vanilla extract, and a pinch of salt. The cocoa will turn the batter a deep chocolate brown; if you see any streaks, keep folding until the color is uniform. The vanilla’s aroma will start to rise, teasing your senses and confirming you’re on the right track. This is the moment where the flavor truly begins to meld.
Fold in the dark chocolate chips, distributing them evenly throughout the batter. The chips should be visible as tiny specks, promising pockets of molten chocolate later. Be careful not to over‑fold; you want the chips to stay suspended, not sink to the bottom.
Kitchen Hack: Chill the batter for 15 minutes before piping; this helps the batter hold its shape and reduces spreading.Transfer the batter to a piping bag fitted with a ½‑inch round tip. Pipe 1‑inch circles onto a parchment‑lined baking sheet, leaving about an inch of space between each. Tap the sheet gently on the counter three times to release any air bubbles—those bubbles can cause cracks later on.
Watch Out: If the batter is too runny, the circles will spread and merge; if too stiff, they’ll form peaks and won’t develop the classic “feet.” Adjust by adding a splash of almond flour or a few drops of water as needed.Let the piped shells rest at room temperature for 30‑45 minutes, or until a skin forms on the surface. You’ll know they’re ready when you can lightly touch the tops without any tackiness. This drying step is crucial—it creates the glossy finish and the signature “foot” that lifts the shell during baking.
Preheat your oven to 300°F (150°C). Place the baking sheet in the middle rack and bake for 15‑18 minutes. The shells should rise slightly, develop a faint golden edge, and the tops will feel firm to the touch. If you hear a faint “crackle,” that’s the sound of perfection forming.
While the shells cool, melt the dark chocolate chips with a splash of cream over a double boiler, stirring until silky. Once smooth, let it cool just enough to spread without melting the shells. Pair the shells, spreading a generous dollop of ganache on the flat side of one shell and sandwiching it with its partner. The ganache should ooze slightly, creating a glossy sheen that catches the light.
That's it — you did it. But hold on, I've got a few more tricks that'll take this to another level…
Insider Tricks for Flawless Results
The Temperature Rule Nobody Follows
Most home bakers set the oven to 350°F and wonder why their macarons turn out flat. The secret is a lower, slower bake that allows the shells to develop that delicate “foot” without cracking. I always preheat to 300°F and use an oven thermometer to verify the actual temperature—every degree counts.
Why Your Nose Knows Best
When the shells are drying, trust your nose. A faint, nutty aroma means the surface is forming the perfect skin. If you smell raw egg whites, they need a few more minutes. This sensory checkpoint saves you from a batch of soggy shells that never rise.
The 5‑Minute Rest That Changes Everything
After baking, let the macarons rest on a wire rack for exactly five minutes before moving them. This short pause lets the interior set, preventing the ganache from sliding out when you sandwich them. I once skipped this step and ended up with a mess of chocolate on the tray—lesson learned.
Humidity Is Your Enemy
If you live in a humid climate, the drying step can be a nightmare. I keep a dehumidifier running in the kitchen or use a fan to circulate air. The shells will dry faster, and you’ll avoid that dreaded “sticky top” that leads to cracked edges.
Chocolate Tempering Shortcut
For a glossy, snap‑ready ganache, you don’t need a full tempering process. Melt the chocolate, then cool it down to about 90°F before adding the cream. This quick temper gives the ganache a glossy sheen and a firm bite that holds up for days.
Creative Twists and Variations
This recipe is a playground. Here are some of my favorite ways to switch things up:
Espresso Explosion
Swap half of the cocoa powder for finely ground espresso. The resulting shells have a mocha flavor that pairs beautifully with the dark chocolate ganache, and the caffeine kick makes them perfect for an afternoon pick‑me‑up.
Sea Salt Caramel
Replace the dark chocolate chips with soft caramel bits and sprinkle a tiny pinch of flaky sea salt on the tops before baking. The sweet‑salty contrast elevates the macaron to a gourmet treat that screams “special occasion.”
White Chocolate Raspberry
Use white chocolate chips instead of dark, and fold in freeze‑dried raspberry powder into the batter. The pastel pink shells look stunning, and the tart raspberry notes balance the sweetness of the white chocolate.
Matcha Dream
Swap cocoa for 3 tablespoons of high‑quality matcha powder, and add a teaspoon of honey to the ganache. The earthy green shells paired with a honey‑sweetened filling are a hit for tea‑time gatherings.
Nutty Crunch
Stir in a handful of toasted, finely chopped hazelnuts into the batter. The nuts add a subtle crunch that contrasts the smooth ganache, and the nutty aroma makes the whole batch irresistible.
Storing and Bringing It Back to Life
Fridge Storage
Place the finished macarons in an airtight container, layering parchment between each layer to prevent sticking. They keep fresh for up to 5 days in the refrigerator. The flavors actually meld, making each bite richer after a night of chilling.
Freezer Friendly
If you want to make them ahead, freeze the assembled macarons in a single layer on a tray, then transfer them to a zip‑top bag. They’ll stay good for up to 3 months. Thaw them in the fridge overnight before serving.
Best Reheating Method
To revive that fresh‑out‑of‑the‑oven feel, let the macarons sit at room temperature for 10 minutes, then pop them in a 300°F oven for just 2‑3 minutes. Add a tiny splash of water to the oven tray to create steam; this steams the shells back to a perfect, slightly chewy texture.