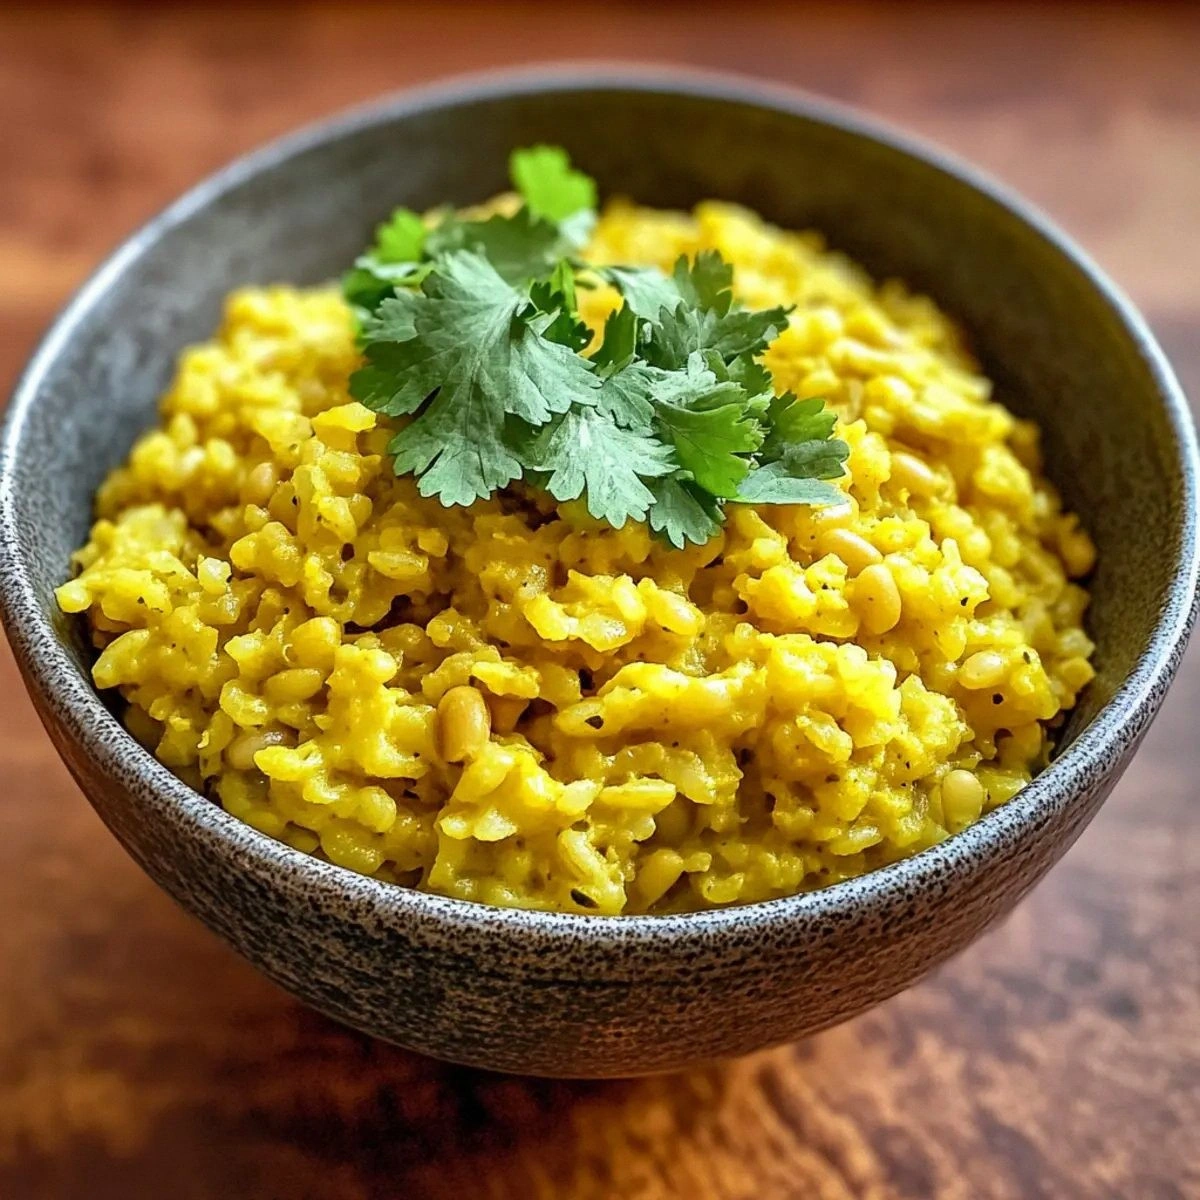
Picture this: you’re hunched over the stove at midnight, the kitchen lights flickering like a disco, and you’ve just burned the last batch of store‑bought chocolate pudding. The smell of scorched sugar lingers in the air, and you swear you’ll never touch another pre‑made dessert again. I was there, staring at a ruined pot, feeling the sting of defeat and the craving for something silky, chocolatey, and guilt‑free. That night, I made a pact with my taste buds – I would create a pudding that not only satisfied my sweet tooth but also pumped my muscles with protein, all without the usual sugar overload. I dove into my pantry, grabbed a tub of Greek yogurt, a scoop of chocolate protein powder, and a dash of maple syrup, and the rest is history.
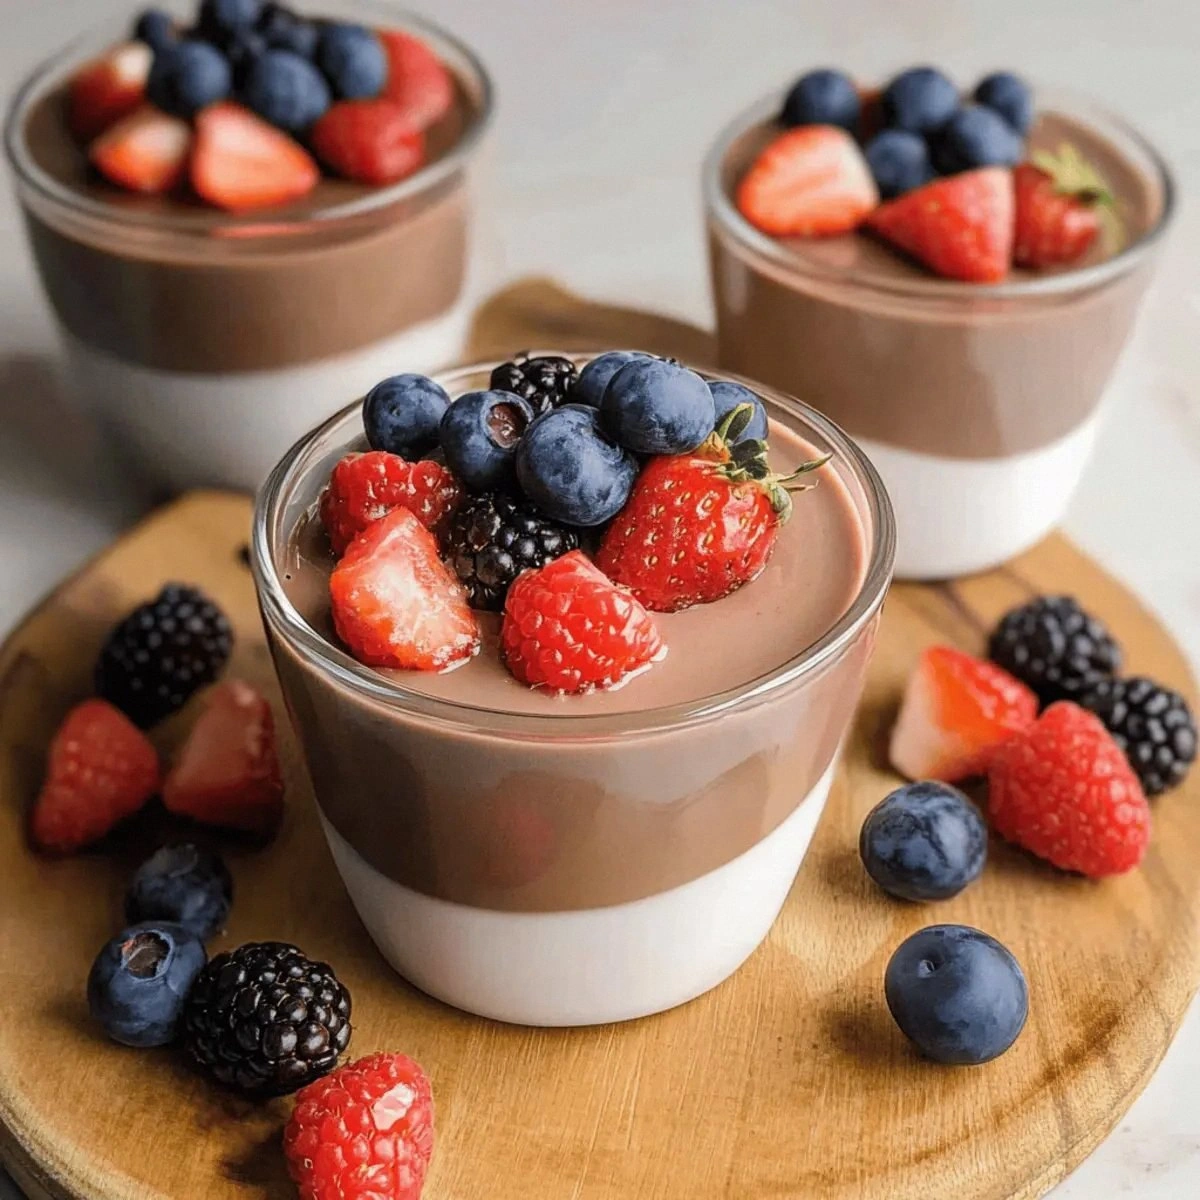
The moment the cocoa powder hit the warm yogurt, a deep, earthy aroma rose like a chocolatey fog rolling over a mountain range. The texture was smooth as satin, thick enough to hold a spoon upright, yet light enough to melt on your tongue like a cloud on a summer day. I could hear the faint whisper of the whisk as it folded the ingredients together, a soft, rhythmic swish that promised perfection. My hands felt the cool, creamy surface, and I could already taste the subtle sweetness balanced by the bitter kiss of cocoa – a true love affair between health and indulgence.
What makes this version stand out isn’t just the protein boost (though 25 g per serving is a serious brag). It’s the way each component works in harmony: the Greek yogurt provides a tangy backbone, the chocolate protein powder adds depth without gritty texture, the unsweetened cocoa delivers that rich chocolate flavor, vanilla extract lifts the whole thing, and maple syrup gives a natural, caramel‑like finish. Most recipes get this completely wrong – they drown the pudding in sugar or use low‑fat dairy that turns it into a watery mess. I’m here to set the record straight.
And here’s the kicker: I’m going to reveal a secret technique involving a brief, gentle heat‑set that transforms the mixture into a velvety custard without any gelatin or cornstarch. It’s a game‑changer that you won’t find in any other high‑protein pudding recipe. I dare you to taste this and not go back for seconds. Let me walk you through every single step — by the end, you’ll wonder how you ever made it any other way.
What Makes This Version Stand Out
- Protein‑Packed: With 25 g of protein per serving, this pudding fuels your muscles while satisfying dessert cravings, making it perfect post‑workout or as a midday pick‑me‑up.
- Zero Added Sugar: The only sweetness comes from pure maple syrup, giving you a natural caramel note without the blood‑sugar rollercoaster.
- Creamy Texture: The combination of Greek yogurt and a brief heat‑set creates a custard‑like consistency that feels indulgent but stays light.
- Simple Ingredients: Only five pantry staples are needed, so you won’t waste time hunting exotic items.
- Versatile Base: This pudding can be dressed up with fruit, nuts, or even a drizzle of nut butter, making it adaptable for any palate.
- Make‑Ahead Friendly: It stores beautifully in the fridge for up to three days, and the flavors actually improve after a night of resting.
- All‑Natural Flavor: Unsweetened cocoa and vanilla extract provide depth without artificial additives.
- Guilt‑Free Indulgence: Low in fat and carbs, this treat fits neatly into most macro‑counting plans.
Inside the Ingredient List
The Flavor Base
Greek Yogurt (1 cup): This is the heart of the pudding. Its natural tang cuts through the richness of cocoa, creating a balanced flavor profile. If you skip it, you’ll end up with a flat, overly sweet mess that lacks body. For the creamiest result, choose a full‑fat Greek yogurt – the extra fat helps lock in moisture. Pro tip: Look for yogurt that lists “live cultures” on the label; they add a subtle probiotic boost.
The Protein Powerhouse
Chocolate Protein Powder (2 scoops): This is where the magic of muscle‑building meets dessert. It thickens the pudding while delivering a chocolate punch that’s richer than cocoa alone. Skipping the protein powder means losing that dense, satisfying mouthfeel and the protein content. If you’re vegan, a plant‑based chocolate whey‑free powder works just as well, though you may need to add a pinch of xanthan gum for extra stability.
The Cocoa Crew
Unsweetened Cocoa Powder (2 tablespoons): The unsweetened variety provides deep chocolate flavor without extra sugar. Using sweetened cocoa would throw off the delicate balance and make the pudding unnecessarily sugary. If you can’t find high‑quality cocoa, a Dutch‑processed version adds a smoother, less acidic taste.
The Sweet Finish
Maple Syrup (2 tablespoons): This natural sweetener adds caramel notes that complement the cocoa beautifully. If you substitute honey, the flavor will shift toward floral, which can be delightful but changes the intended profile. For a lower‑calorie option, use a sugar‑free maple‑flavored syrup, but be aware that some brands contain additives that may affect texture.
The Aroma Booster
Vanilla Extract (1 teaspoon): A splash of vanilla lifts the entire pudding, smoothing out any harsh edges from the cocoa. Skipping it can leave the pudding tasting slightly bitter. For a richer aroma, use a high‑quality pure vanilla extract rather than imitation.
Everything's prepped? Good. Let's get into the real action...
The Method — Step by Step
First, gather all your ingredients and give the Greek yogurt a quick whisk until it’s completely smooth. This step is crucial because any lumps will turn into unwanted grainy bits in the final pudding. I like to use a balloon whisk; the wide wires create a vortex that pulls the yogurt into a creamy whirlpool. Pro tip: If the yogurt is too thick, add a splash of milk (dairy or plant‑based) – just enough to loosen it without making it runny.
Next, add the chocolate protein powder and unsweetened cocoa powder to the bowl. Sprinkle them evenly to avoid clumping. I dare you to watch the transformation as the dark cocoa swirls into the yogurt, turning the mixture a deep, velvety brown. At this point, the kitchen smells like a boutique chocolate shop – pure bliss.
Kitchen Hack: Use a fine mesh sieve to sift the cocoa powder before adding it; this eliminates any stubborn lumps.Now, pour in the maple syrup and vanilla extract. As you stir, you’ll notice the mixture becoming glossy, almost like a glossy chocolate ganache. This is the moment where sweetness and flavor marry. Keep whisking until the syrup is fully incorporated – you don’t want any streaks of amber.
Here’s where the magic happens: transfer the mixture to a small saucepan and place it over low heat. This is the gentle heat‑set that turns the pudding from a runny blend into a thick custard. Stir constantly with a silicone spatula, scraping the bottom to prevent sticking. You’ll feel the mixture gradually thicken, and a faint steam will rise, carrying that intoxicating chocolate‑vanilla scent.
Watch out! Once the pudding reaches a gentle boil, reduce the heat immediately. If you let it boil aggressively, the proteins can curdle, resulting in a grainy texture that no one wants. The correct temperature is just below simmer – you should see tiny bubbles forming around the edges, not a rolling boil.
Watch Out: Over‑cooking will cause the pudding to separate; keep the heat low and stir continuously.After about 5‑7 minutes of gentle cooking, the pudding will coat the back of a spoon and pull away slightly from the sides of the pan. This is your visual cue that it’s ready. The aroma at this stage is pure chocolate heaven, and you’ll feel a slight resistance when you stir – that’s the protein setting in.
Remove the saucepan from the heat and let the pudding sit for a minute to settle. Then, quickly pour it into four individual serving dishes or a single large bowl. The heat‑set ensures the pudding holds its shape, but it’s still soft enough to be spooned with ease.
Kitchen Hack: Tap the serving dishes lightly on the counter to release any air bubbles that might have formed during transfer.Cover each dish with plastic wrap, pressing the wrap directly onto the surface to prevent a skin from forming. Refrigerate for at least 2 hours – the longer, the better, as the flavors meld and the texture firms up. Picture yourself pulling this out of the fridge, the whole kitchen smelling incredible, and the pudding holding its glossy sheen.
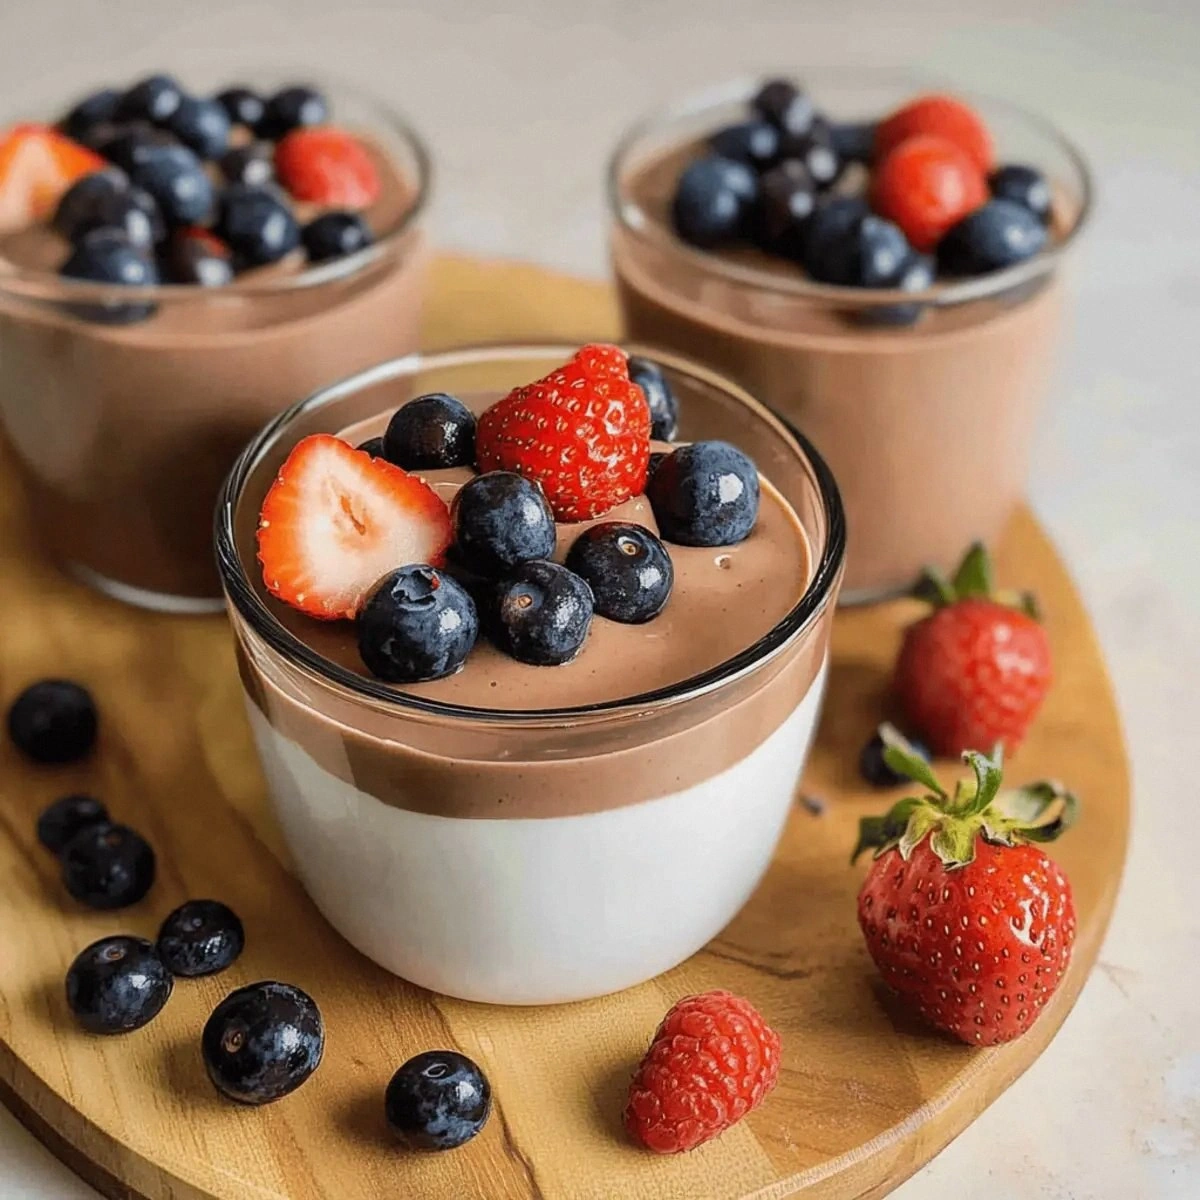
When you’re ready to serve, give the pudding a quick stir, then top with a sprinkle of cocoa powder, a drizzle of extra maple syrup, or a handful of fresh berries for contrast. This next part? Pure magic. The contrast of cool pudding with bright fruit is a textural symphony that will have everyone asking for seconds.
That's it — you did it. But hold on, I've got a few more tricks that'll take this to another level...
Insider Tricks for Flawless Results
The Temperature Rule Nobody Follows
Never rush the heat‑set. Low and slow is the mantra. If you crank up the heat, the proteins denature too quickly, creating a grainy pudding. I once tried a “quick‑cook” shortcut and ended up with a curdled disaster that looked more like a broken chocolate sauce. Keep the burner on low, and trust the process – the pudding will thicken perfectly without any gritty surprises.
Why Your Nose Knows Best
Use your sense of smell as a timer. When the mixture starts releasing that deep cocoa‑vanilla perfume, you’re within two minutes of the perfect thickness. It’s like a built‑in alarm clock that tells you when to stop stirring. If the aroma fades, you’ve probably over‑cooked it.
The 5‑Minute Rest That Changes Everything
After you pour the pudding into dishes, let it sit uncovered for five minutes before sealing with plastic wrap. This short rest allows the surface to form a thin, glossy film that prevents a skin from forming later. I’ve seen people skip this and end up with a rubbery top layer – not a good look for a dessert you’re proud of.
Blend, Don’t Whisk, for Ultra‑Smoothness
If you own an immersion blender, give the mixture a quick 10‑second whirl after it’s off the heat. This breaks down any microscopic cocoa particles, resulting in a pudding that feels like it was made in a high‑end kitchen. The blender also incorporates a tiny amount of air, making the texture slightly lighter without compromising the protein content.
Chill the Bowls for a Faster Set
Before you pour the hot pudding, chill your serving bowls in the freezer for 10 minutes. The cold surface accelerates the setting process, giving you a firmer pudding in less time. I tried this once for a party and wowed guests with pudding that was perfectly set in just an hour.
Creative Twists and Variations
This recipe is a playground. Here are some of my favorite ways to switch things up:
Berry Burst
Fold in a cup of fresh mixed berries (strawberries, blueberries, raspberries) before chilling. The tartness of the fruit cuts through the chocolate, creating a balanced sweet‑sour profile that’s perfect for summer evenings.
Nutty Crunch
Stir in a tablespoon of chopped toasted almonds or hazelnuts after the pudding has cooled slightly. The nuts add a satisfying crunch and a dose of healthy fats, turning the dessert into a texture‑rich experience.
Mocha Madness
Replace half of the cocoa powder with finely ground espresso beans. The coffee notes amplify the chocolate depth, making it an ideal treat for caffeine lovers who also need protein after a morning workout.
Spiced Autumn
Add a pinch of cinnamon and a dash of ground nutmeg to the mixture before heating. The warm spices evoke cozy fall vibes, and they pair beautifully with the maple syrup’s natural caramel notes.
Vegan Version
Swap Greek yogurt for a plant‑based thick yogurt (coconut or almond) and choose a plant‑based chocolate protein powder. The texture remains creamy, and you keep the dish entirely dairy‑free for vegan guests.
White Chocolate Dream
Replace the cocoa powder with 2 tablespoons of white chocolate chips melted into the warm mixture. The result is a sweet, buttery pudding that still packs the protein punch, perfect for those who prefer a milder chocolate flavor.
Storing and Bringing It Back to Life
Fridge Storage
Transfer the pudding to airtight containers and keep it in the refrigerator for up to three days. The flavors actually mellow and become more cohesive after a night. When serving, give each portion a quick stir; if it looks a little thick, add a splash of milk and whisk gently.
Freezer Friendly
For longer storage, portion the pudding into freezer‑safe containers and freeze for up to one month. Thaw overnight in the fridge, then stir in a teaspoon of maple syrup or a drizzle of milk to restore its silky texture.
Best Reheating Method
When you’re ready to enjoy a frozen or chilled batch, place the pudding in a microwave‑safe bowl, add a tiny splash of water (about one tablespoon), and heat in 15‑second bursts, stirring in between. The added moisture steams the pudding back to perfection without turning it watery.