Picture this: I was standing in my kitchen, staring at a half‑baked pie that had turned into a sad, brown lump. I had just tried to impress a friend with a fancy dessert, and the result was a disaster that smelled like burnt sugar and regret. I was about to throw it away when a memory of my grandma’s condensed milk cheesecake slice flickered in my mind—smooth, sweet, and utterly irresistible. That was the spark that turned a ruined evening into a culinary revelation.
I grabbed the pantry, pulled out the cream cheese, the can of sweetened condensed milk, and a handful of graham crackers. The room filled with the buttery scent of melted butter as it mingled with the sweet, caramelized aroma of condensed milk. My ears rang with the gentle hiss of butter melting, and the texture of the crumbs was like a soft, golden snow. The anticipation was tangible—this wasn’t just another recipe; it was a promise of comfort, of nostalgia, of something that would melt on your tongue like a dream.
What makes this version stand out is that it strips away the fuss. No baking, no whisking, no elaborate crusts. Just a few simple ingredients, a handful of steps, and an outcome that feels indulgent yet approachable. I dared you to taste this and not go back for seconds, because once you experience the silky, airy texture and the subtle citrus lift, you’ll be hooked. This is hands down the best version you'll ever make at home.
And the secret? A splash of lemon juice that cuts through the sweetness, a pinch of salt that amplifies every flavor note, and a precise ratio of cream cheese to condensed milk that keeps the cheesecake airy without a single bite of heaviness. If you’re ready to ditch the oven, I’ll walk you through every single step. By the end, you’ll wonder how you ever made it any other way.
What Makes This Version Stand Out
- Speed: The entire process takes less than an hour, so you can enjoy a fresh dessert without a long wait.
- Simplicity: Only six ingredients—no fancy mixers, no special tools, just a bowl and a spoon.
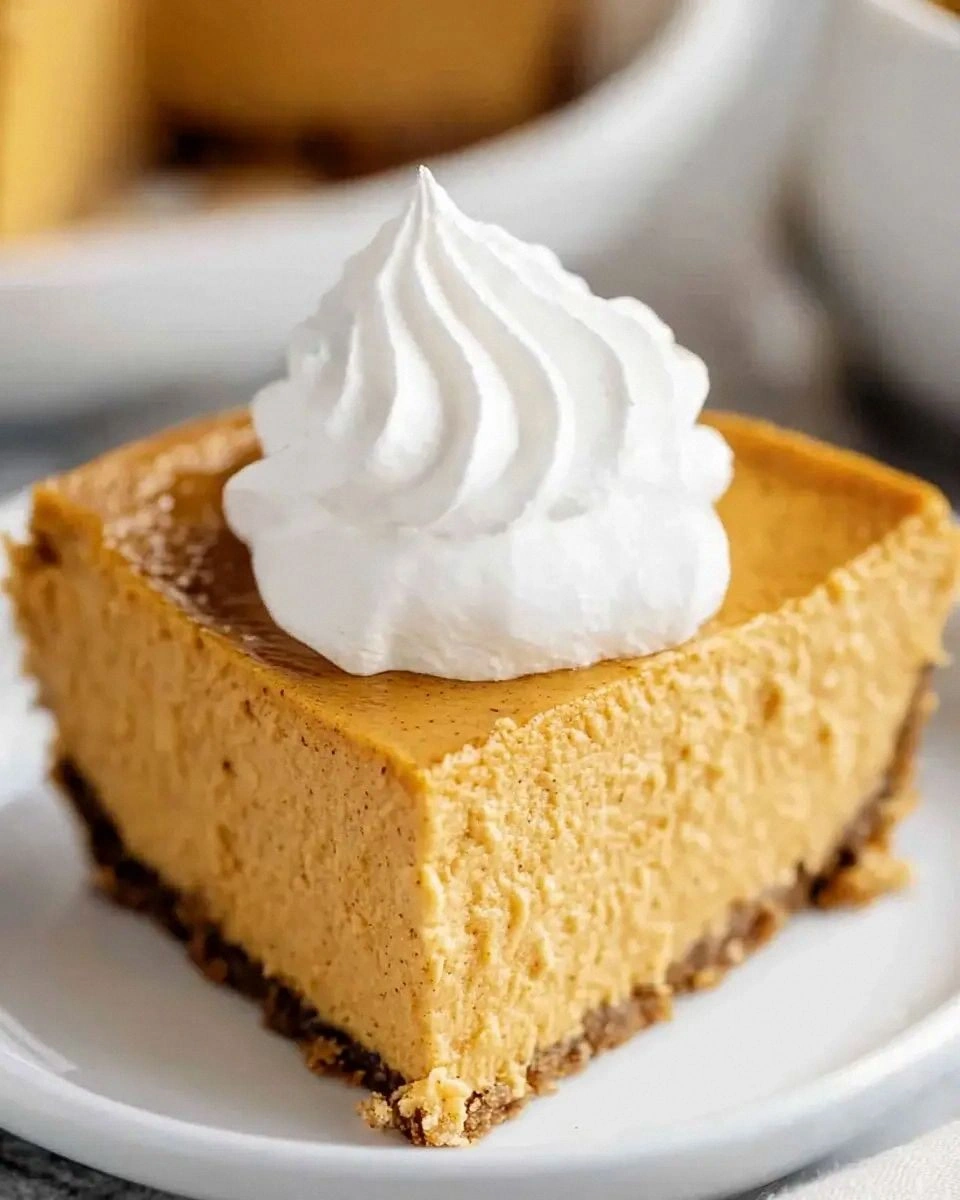
- Texture: Creamy, silky filling that melts in your mouth, paired with a buttery, crumbly crust.
- Flavor: A perfect balance of sweet, tangy, and buttery, with a subtle citrus lift.
- Versatility: Works for brunch, dessert, or an after‑party treat—anytime you want a crowd‑pleaser.
- Make‑Ahead: Chill for a few hours and serve cold; it keeps well for up to 3 days.
- Budget: Uses pantry staples, so it’s surprisingly affordable for a luxurious dessert.
- No Oven: Ideal for hot days or when you just don’t want to heat up the kitchen.
Alright, let's break down exactly what goes into this masterpiece...
Inside the Ingredient List
The Flavor Base
Condensed milk is the heart of this cheesecake slice, providing both sweetness and a thick, custard‑like consistency. It’s the reason the dessert stays smooth and doesn’t separate even after chilling. If you skip it, the filling becomes thin and loses that signature silky mouthfeel.
Cream cheese brings richness and a slight tang that balances the condensed milk’s sweetness. Use a room‑temperature block to ensure it blends effortlessly without lumps. A higher fat content in the cream cheese results in a creamier texture, but if you’re watching calories, a low‑fat version will still work, just be prepared for a slightly drier bite.
The Texture Crew
Graham cracker crumbs form the base, offering a buttery crunch that contrasts beautifully with the silky filling. The crumbs also help absorb excess moisture, keeping the crust from becoming soggy. If you’re allergic to gluten, substitute with almond flour or a gluten‑free cracker mix.
Butter melts into the crumbs, creating a cohesive crust that holds the cheesecake together. A tablespoon of melted butter for every cup of crumbs ensures the base is moist enough to hold its shape but not so greasy that it overpowers the filling. Too little butter and the crust will crumble; too much and you’ll end up with a greasy mess.
The Unexpected Star
A splash of lemon juice adds a bright, citrusy note that cuts through the sweetness and gives the cheesecake a refreshing lift. It also helps stabilize the mixture, preventing it from becoming too runny. If you prefer a different flavor, try a teaspoon of orange zest or a splash of vanilla extract for a subtle twist.
The Final Flourish
A pinch of salt is essential; it amplifies the other flavors and balances the sweetness. Salt is the silent hero in desserts, and a small amount can make a big difference in perceived taste. If you’re avoiding sodium, reduce the amount slightly, but don’t skip it entirely.
Everything's prepped? Good. Let's get into the real action...
The Method — Step by Step
- First, preheat your oven to 350°F (175°C) if you decide to add a quick bake for a firmer crust. However, for the classic no‑bake version, you’ll skip this step entirely. Mix 2 cups of graham cracker crumbs with 1 cup melted butter and 1 cup granulated sugar. The mixture should feel like wet sand—moist but not soggy. Press it firmly into the bottom of an 8‑inch springform pan, creating an even layer.
- Let the crust set in the refrigerator while you prepare the filling. If you’re short on time, you can skip the chill and move straight to the filling; the crust will firm up once the cheesecake sets. The key is to keep the crust cold to prevent it from melting.
- In a large mixing bowl, combine 16 oz of room‑temperature cream cheese and 1 can (14 oz) of sweetened condensed milk. Whisk until the mixture is smooth and creamy, with no lumps. The filling should have a thick, custard‑like consistency that will hold its shape when scooped.
- Add 2 eggs, one at a time, whisking vigorously after each addition. The eggs act as a binder, giving the cheesecake structure without making it dense. If you’re concerned about raw eggs, use pasteurized eggs or a small amount of gelatin dissolved in water.
- Stir in 1 teaspoon of vanilla extract and 1 tablespoon of fresh lemon juice. The vanilla provides warmth, while the lemon cuts through the sweetness, creating a balanced flavor profile. The mixture should smell slightly citrusy—this aroma signals that the lemon is working its magic.
- Fold in a pinch of salt. This step may seem trivial, but the salt will bring out the richness of the cream cheese and the depth of the condensed milk. A small amount is all you need; too much will make the dessert taste briny.
- Pour the filling over the chilled crust, smoothing the top with a spatula. The filling should look glossy and even. Place the pan in the refrigerator and let it set for at least 4 hours, preferably overnight, so the flavors meld together and the texture firms up.
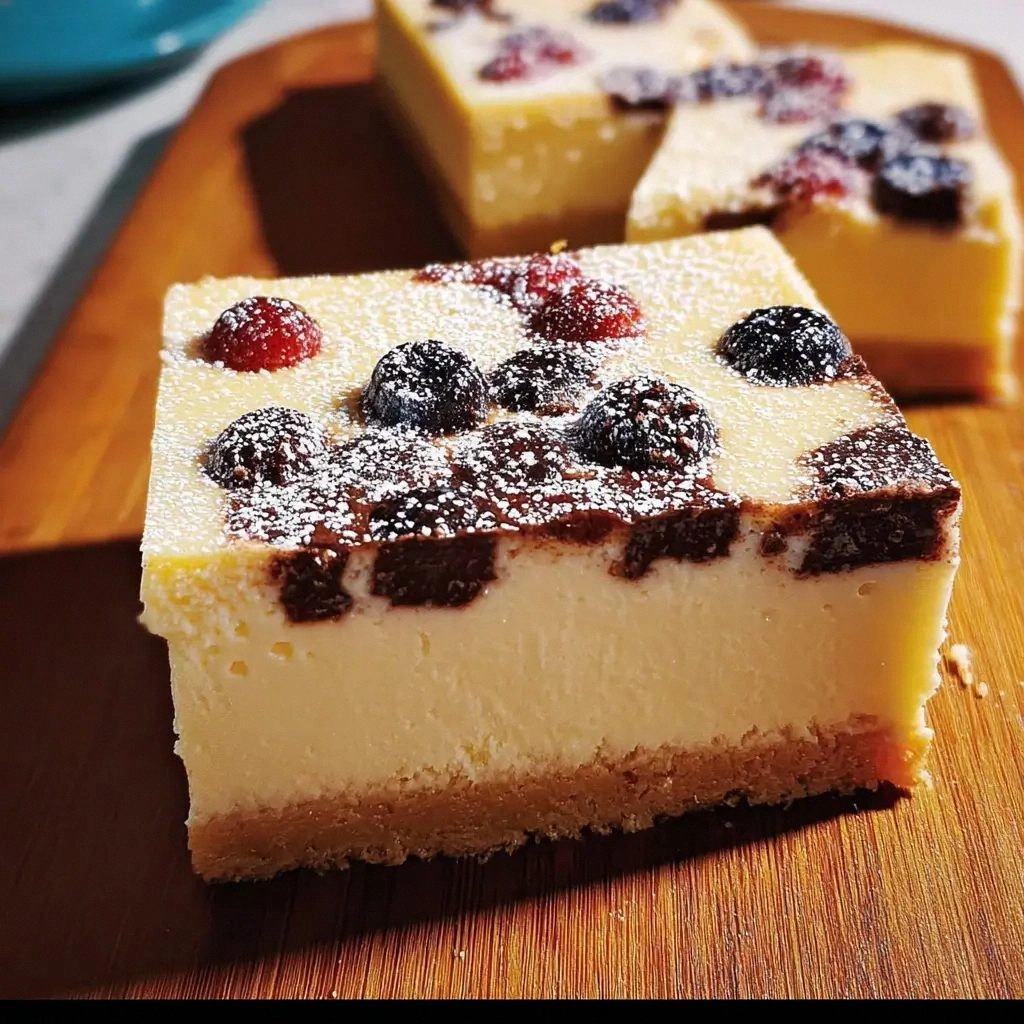
- When ready to serve, remove the cheesecake from the fridge and let it sit at room temperature for 10–15 minutes to soften slightly. Slice with a sharp knife, wiping the blade between cuts for clean slices. Serve chilled, optionally dusted with powdered sugar or a drizzle of caramel.
That's it — you did it. But hold on, I've got a few more tricks that'll take this to another level...
Insider Tricks for Flawless Results
The Temperature Rule Nobody Follows
Room‑temperature ingredients are essential for a smooth filling. If the cream cheese is too cold, it won’t blend properly with the condensed milk, resulting in a lumpy texture. Keep the mixture in a cool place for at least 30 minutes before whipping, and you’ll avoid that dreaded uneven bite.
Why Your Nose Knows Best
Smell the filling before you chill it. A faint citrus aroma means the lemon has blended well; a strong, sweet scent indicates you may need to add a splash of lemon juice. Your nose is a reliable quality control sensor.
The 5‑Minute Rest That Changes Everything
After pouring the filling, let it sit for five minutes before refrigerating. This brief rest allows the mixture to settle, preventing air pockets from forming during the chilling process. It’s a small step that saves you from uneven slices.
The Sweet Spot of Salt
A pinch of salt is more than seasoning; it’s a flavor enhancer. It brings out the creamy richness of the cheese and balances the condensed milk’s sweetness. If you’re watching sodium, use a low‑sodium salt or reduce the amount to a quarter teaspoon.
The Perfect Pan Choice
A springform pan with a removable bottom works best because it allows you to release the cheesecake without damaging the crust. A glass or ceramic pan can also be used, but be careful when removing the springform ring to avoid cracking.
The No‑Bake Alternative
If you’re in a heatwave and don’t want to use the oven, simply chill the cheesecake for at least 6 hours. The filling will set without baking, keeping the kitchen cool. The texture will be slightly softer, but still delicious.
Creative Twists and Variations
This recipe is a playground. Here are some of my favorite ways to switch things up:
Chocolate Drizzle
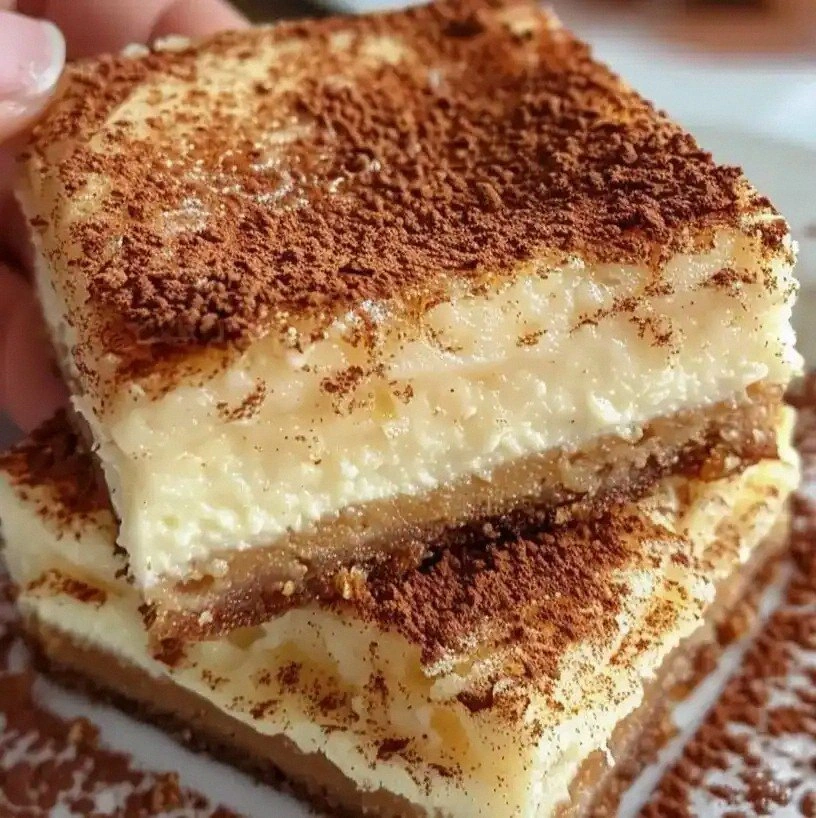
Swirl melted dark chocolate into the filling before chilling. The chocolate adds depth and a hint of bitterness that balances the sweetness. It’s perfect for chocolate lovers and pairs well with a dusting of cocoa powder.
Berry Burst
Fold in 1 cup of fresh blueberries or raspberries into the filling. The berries will release their juice, creating pockets of fruity flavor in each bite. Serve with a berry compote for an extra pop.
Coffee Kick
Add 1 tablespoon of instant espresso powder to the filling for a mocha twist. The coffee flavor complements the creamy base and adds a sophisticated undertone. Top with whipped cream for a café‑in‑your‑home experience.
Nutty Crunch
Incorporate chopped pecans or walnuts into the crust. The nuts add crunch and a buttery flavor that pairs wonderfully with the smooth filling. Sprinkle extra nuts on top before serving for a decorative touch.
Citrus Zest
Replace the lemon juice with orange zest and a splash of orange juice. The citrusy sweetness will give the cheesecake a bright, tropical feel. This version is a hit at summer parties.
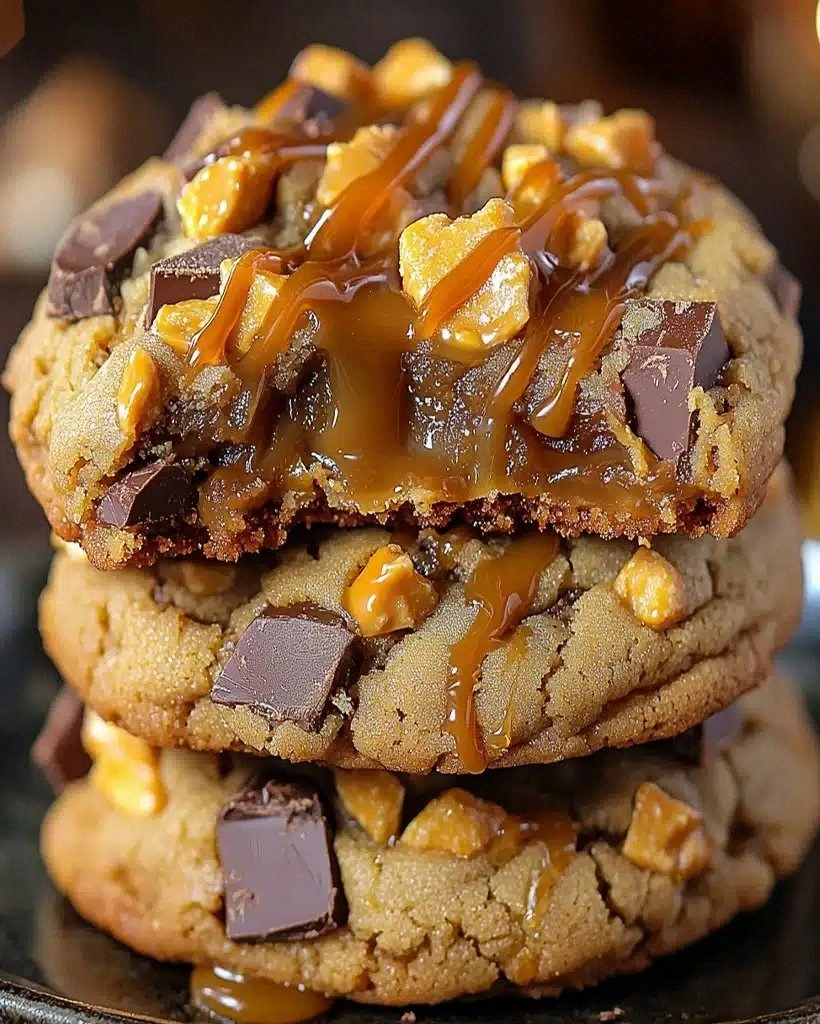
Salted Caramel
Drizzle salted caramel over the top of the chilled cheesecake just before serving. The caramel adds a sweet‑salty contrast that elevates the overall flavor profile. It’s a crowd‑pleaser at holiday gatherings.
Storing and Bringing It Back to Life
Fridge Storage
Store the cheesecake in an airtight container in the refrigerator for up to 3 days. The airtight seal prevents the dessert from absorbing fridge odors and keeps the crust from drying out. When ready to serve, let it sit at room temperature for 10 minutes to soften slightly.
Freezer Friendly
Wrap the cheesecake tightly in plastic wrap, then place it in a freezer‑safe container. It will keep well for up to 2 weeks. When you’re ready to enjoy it, thaw in the refrigerator overnight, then allow it to sit at room temperature for 20 minutes.
Best Reheating Method
If the cheesecake has become too firm, reheat it in the microwave on a low setting for 10–15 seconds. Add a tiny splash of water before reheating; it steams back to perfection, restoring that silky texture. Be careful not to overheat, or you’ll risk melting the filling.